Effortless Installation of Tesla Wall Charger: A Detailed DIY Guide for Home Charging Solutions
Installing a Tesla Wall Charger at home is an excellent way to ensure convenient and efficient charging for your electric vehicle. With this detailed do-it-yourself (DIY) guide, you can effortlessly install a Tesla Wall Charger and enjoy the convenience of home charging solutions.
Gather the Necessary Tools and Materials
Before beginning the installation process, gather all the required tools and materials. These typically include a Tesla Wall Charger, mounting bracket, electrical wires, wire connectors, wire strippers, a screwdriver, a voltage tester, a drill, and appropriate safety gear such as gloves and safety glasses.
Choose an Appropriate Location
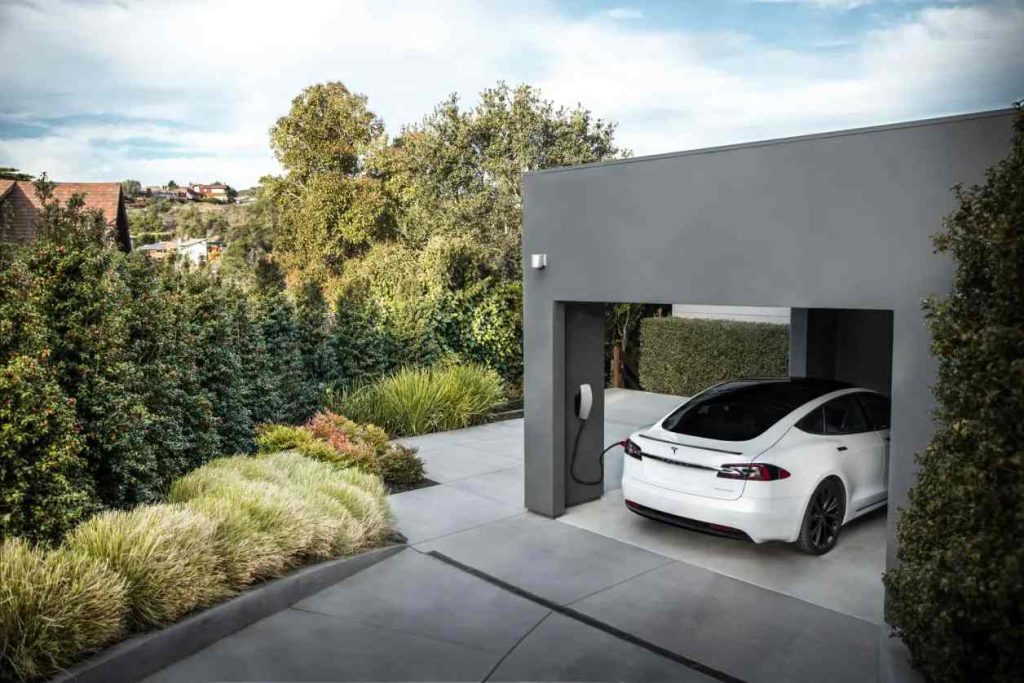
Select an ideal location for the Tesla Wall Charger installation. It should be close to where your vehicle is parked, easily accessible, and protected from extreme weather conditions. Additionally, consider the distance to the electrical panel and the availability of a dedicated circuit breaker.
Turn Off Power and Test the Voltage
For safety reasons, turn off the power to the area where you will be installing the Tesla Wall Charger. Use a voltage tester to verify that the power has been disconnected properly before proceeding with any electrical work.
Mount the Tesla Wall Charger
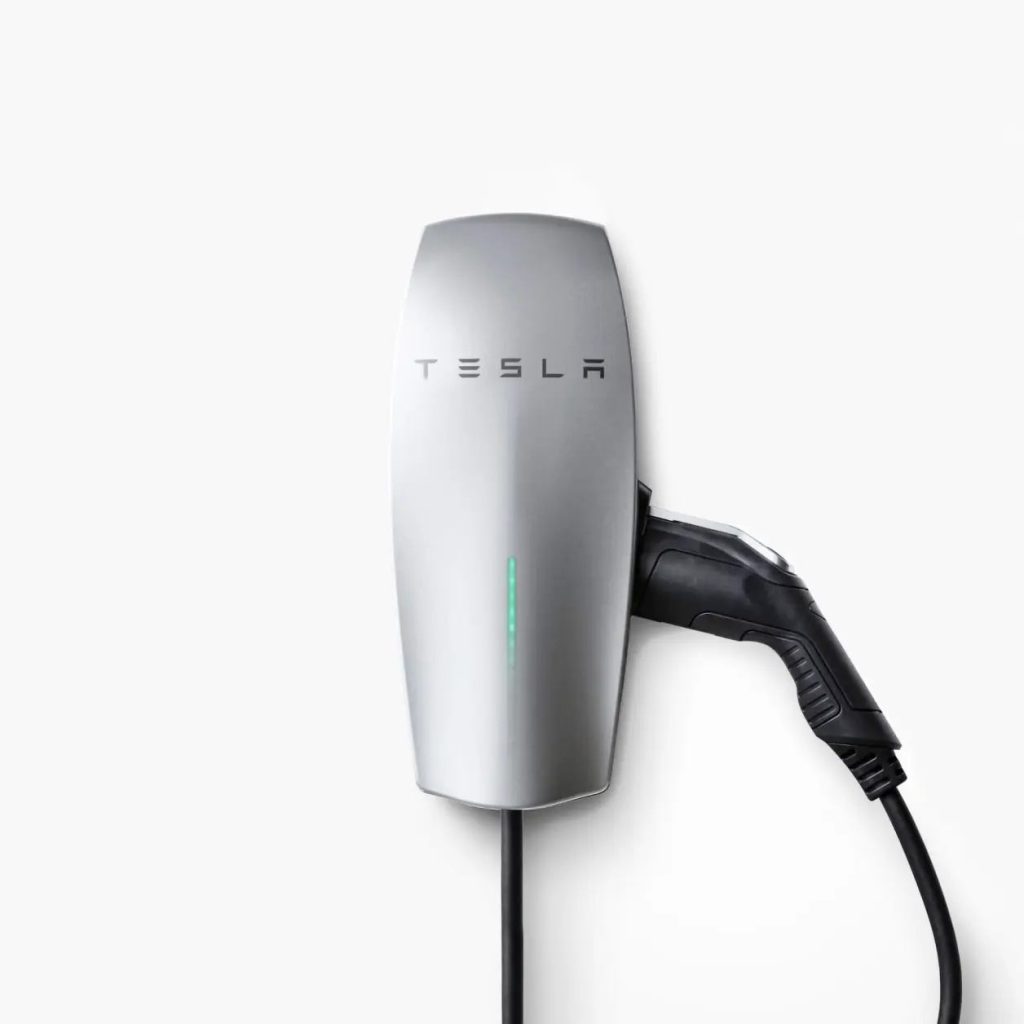
Using the provided mounting bracket, securely attach the Tesla Wall Charger to the chosen location. Ensure that it is level and mounted sturdily, following the manufacturer's instructions for proper installation.
Connect the Electrical Wires
Next, connect the electrical wires to the Tesla Wall Charger. Strip the insulation off the ends of the wires using wire strippers, exposing the bare copper. Connect the wires to their corresponding terminals on the charger, ensuring a tight and secure connection. It is recommended to follow the wiring diagram provided by Tesla for accurate connections.
Run the Electrical Wiring to the Electrical Panel
Carefully run the electrical wiring from the Tesla Wall Charger to the electrical panel. If necessary, drill holes in walls or floors to route the wires. Ensure that the wires are hidden safely and protected from any potential damage. It is advisable to consult local electrical codes and regulations to ensure proper wire routing.
Connect the Electrical Wires to the Circuit Breaker
At the electrical panel, connect the electrical wires from the Tesla Wall Charger to a dedicated circuit breaker. Follow electrical code requirements and consult a professional electrician if needed. Double-check the connections for accuracy and tightness before proceeding.
Restore Power and Test the Charger
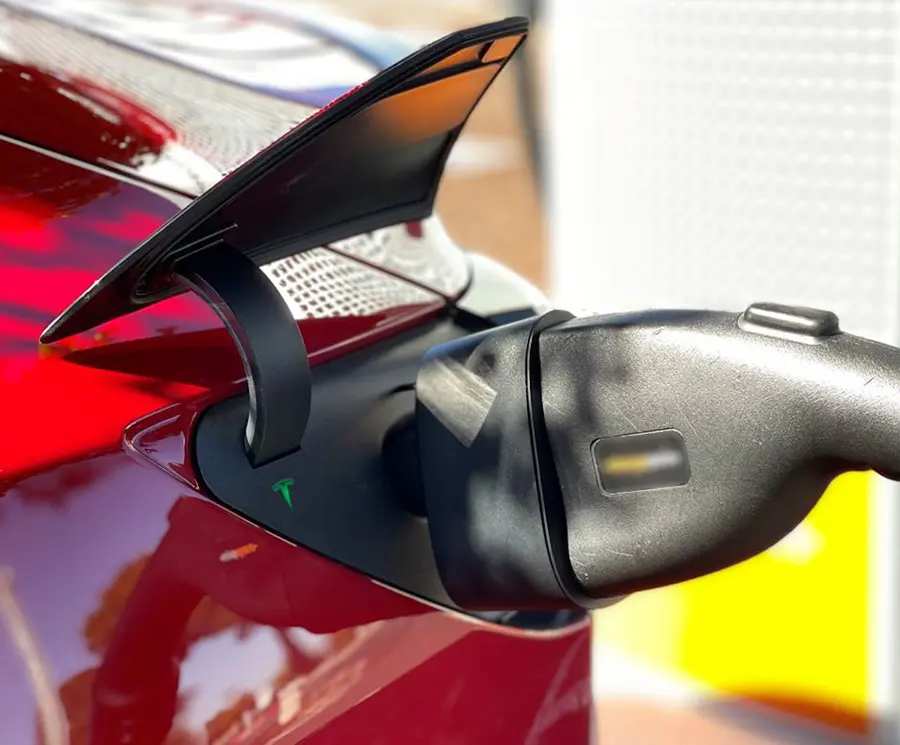
After completing the electrical connections, restore power to the area by turning on the circuit breaker. Verify that the Tesla Wall Charger receives power and is operational. Test the charger by plugging in your Tesla vehicle and ensuring that it charges correctly.
Perform Safety Checks
Once the installation is complete, perform safety checks to ensure everything is secure and functioning properly. Inspect all electrical connections, check for any loose fittings, and visually examine the entire setup. It is crucial to ensure there are no exposed wires or potential hazards.
Enjoy Convenient Home Charging
With the Tesla Wall Charger successfully installed, you can now enjoy effortless home charging for your Tesla vehicle. Take full advantage of the convenience and efficiency offered by home charging solutions, avoiding the need for frequent visits to public charging stations.
Conclusion
Installing a Tesla Wall Charger at home provides a convenient and efficient way to charge your electric vehicle. By following this detailed DIY guide, you can easily install a Tesla Wall Charger and enjoy hassle-free home charging solutions. Remember to gather the necessary tools and materials, choose an appropriate location, turn off power and test the voltage, mount the charger securely, connect the electrical wires accurately, run the wiring to the electrical panel, connect to a dedicated circuit breaker, restore power and test the charger, perform safety checks, and finally, enjoy the convenience of home charging.